How to Add DS1307, DS3231, PCF8563 RTC with Arduino: Tutorial
Hello, friends, this is a post about adding a Real-Time Clock (RTC) Module to Arduino: A Step-by-Step Guide
Introduction:
In many Arduino projects, accurately tracking time is crucial. While the Arduino itself does not have an internal clock, you can easily incorporate a Real-Time Clock (RTC) module to keep track of time even when the Arduino is powered off. This article will guide you through the process of adding popular RTC modules such as the DS3231, PCF8563, and DS1307 to your Arduino projects.
Understanding RTC Modules:
RTC modules are compact devices that use a dedicated clock chip to provide precise timekeeping capabilities. They typically communicate with the Arduino using the I2C protocol, making them easy to integrate into projects. In this guide, we will focus on the DS3231, PCF8563, and DS1307 RTC modules, which are widely available and popular among Arduino enthusiasts.
DS3231
![3c6f5ede711db61f2c84f5a99c41101b.png ~7R~]HCC7H)H4S627WM1ELG](/upload/image/content/20231110/3c6f5ede711db61f2c84f5a99c41101b.png)
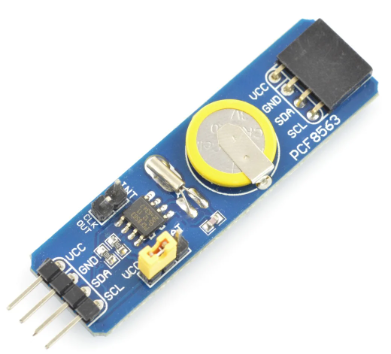
PCF8563

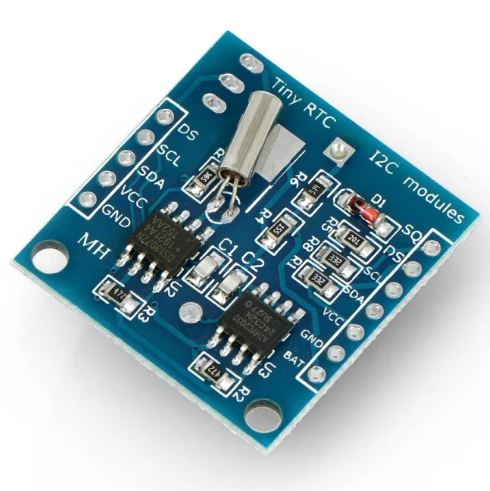
DS1307

Gathering the Components:
To get started, you will need the following components:
Arduino board (e.g., Arduino Uno)
RTC module (DS3231, PCF8563, or DS1307)
Jumper wires
Wiring the RTC Module:
Connect the RTC module to the Arduino using jumper wires as follows:
VCC (RTC) to 5V (Arduino)
GND (RTC) to GND (Arduino)
SDA (RTC) to A4 (SDA) (Arduino)
SCL (RTC) to A5 (SCL) (Arduino)
Installing the Required Libraries:
To communicate with the RTC module, we need to install the appropriate libraries. Here's how:
Launch the Arduino IDE.
Go to "Sketch" -> "Include Library" -> "Manage Libraries."
Search for the RTC library specific to your module (e.g., "RTClib" for DS3231) and click "Install."
Writing the Arduino Code:
Now, let's write the code to interface with the RTC module:
Start by including the necessary libraries in your Arduino sketch:
#include
#include
Create an instance of the RTC object:
RTC_DS3231 rtc; // Replace with the appropriate RTC module class (e.g., RTC_PCF8563, RTC_DS1307)
In the setup() function, initialize the communication with the RTC module:
void setup() {
Wire.begin();
rtc.begin();
}
In the loop() function, you can retrieve and utilize the current date and time:
void loop() {
DateTime now = rtc.now();
// Access individual components of the date/time
int year = now.year();
int month = now.month();
int day = now.day();
int hour = now.hour();
int minute = now.minute();
int second = now.second();
// Do something with the date/time values
// For example, display them on an LCD, OLED, or serial monitor
// You can also perform time-based actions or schedule events with the obtained values
delay(1000); // Delay for 1 second
}
Uploading and Testing:
Upload the code to your Arduino board using the Arduino IDE. Make sure you have selected the correct board and port under the "Tools" menu. Open the serial monitor to observe the output. You should see the current date and time being displayed, confirming a successful connection with the RTC module.
Enhancing Functionality:
With the RTC module successfully integrated, you can extend its functionality. For instance, you can implement alarm systems, create timers, log timestamps, or synchronize events based on accurate timekeeping.
Conclusion:
Adding a Real-Time Clock (RTC) module to your Arduino projects is a simple yet effective way to maintain accurate timekeeping. By following the steps outlined in this guide, you can easily interface popular RTC modules such as the DS3231, PCF8563, or DS1307 with your Arduino. Enjoy precise time tracking and unlock the potential for time-dependent applications in your projects.


